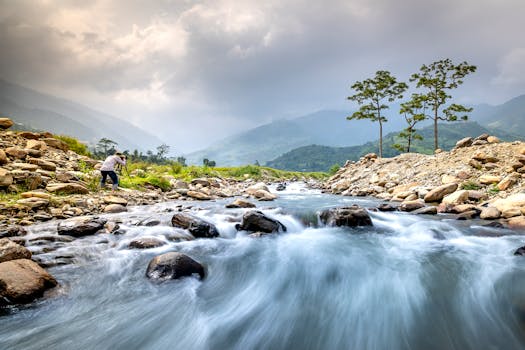
Editing Landscape Photos for Impact
Editing landscape photos to create a lasting impact involves more than just tweaking a few settings on your editing software. It's about understanding the core elements that make a landscape photo compelling and knowing how to enhance these elements without making the image look unnatural. This process can turn an ordinary photograph into a breathtaking masterpiece, capturing the true essence of the scene.

Many photographers, both novice and experienced, often find themselves overwhelmed by the multitude of editing tools available today. From Adobe Lightroom to Photoshop, each tool offers a unique set of features that can significantly improve your photos if used correctly. However, knowing which adjustments to make and how to apply them can be daunting without proper guidance.
Understanding Light and Exposure
The first step in editing any landscape photo is getting the exposure right. Proper exposure ensures that your photo has the right amount of light, highlighting essential details without losing information in shadows or highlights. Use the histogram tool in your editing software to check if your photo is correctly exposed. A balanced histogram means you have a good range of tones from dark to light.
Adjusting exposure can be as simple as tweaking the brightness and contrast settings. Increase brightness if the image is too dark, but avoid overexposing it. Contrast adjustments can help make your photo pop by enhancing the difference between light and dark areas.
One advanced technique is using graduated filters. These tools allow you to adjust the exposure of specific parts of your photo. For instance, if the sky is too bright but the foreground is correctly exposed, you can use a graduated filter to darken just the sky.
Another useful feature is the highlight and shadow adjustment. Reducing highlights can bring back details in bright areas, while lifting shadows can reveal hidden details in darker parts of your image.
Enhancing Colors
Color plays a crucial role in landscape photography, as it sets the mood and atmosphere of your scene. Start by adjusting the white balance to ensure that colors are accurate. A wrong white balance can make your photo look unnatural.
Saturation and vibrance are two key settings for enhancing colors. Increasing saturation affects all colors equally, while vibrance selectively boosts less-saturated colors. Be cautious with these adjustments; overdoing them can result in unrealistic images.
For more precise color control, use HSL (Hue, Saturation, Lightness) sliders. These allow you to adjust individual color channels, giving you greater control over specific hues in your image. For example, you can make the greens in a forest scene more vibrant without affecting other colors.
A useful tip is to create a slight vignette effect around the edges of your photo. This subtle darkening can help direct attention towards the center of your image where most of the action happens.
Sharpening and Detail Enhancement
Sharpness is vital for landscape photos as it brings out fine details that make your image stand out. Most editing software offers various sharpening tools; however, it's crucial not to overdo it as this can introduce noise and artifacts.
Start with global sharpening to enhance overall sharpness. Then use selective sharpening tools like masking or brush tools to target specific areas that need more detail. For example, you might want to sharpen just the mountains in a landscape shot while leaving the sky smooth.
An advanced technique for enhancing details is using high-pass filtering in Photoshop. This method involves creating a duplicate layer of your image, applying a high-pass filter, and then setting the blend mode to overlay or soft light. This approach enhances edges and textures without affecting overall brightness or contrast.
Noise reduction is also essential when working with high ISO images or long exposures common in landscape photography. Use noise reduction tools sparingly; too much noise reduction can result in loss of detail.
Cropping and Composition
Cropping can significantly improve your composition by removing distracting elements and focusing on essential parts of your scene. Use cropping tools to align your photo according to compositional rules like the rule of thirds or leading lines.
Avoid cropping too much as it can reduce image resolution and quality. Instead, compose your shot well during capture so that minimal cropping is needed during editing.
Another useful tool is perspective correction. This feature helps straighten lines that appear distorted due to lens angle or camera position. It's particularly useful for architectural landscapes where straight lines are prominent.
| Editing Tool | Primary Use |
|---|---|
| Adobe Lightroom | Basic adjustments like exposure, color correction |
| Photoshop | Advanced retouching and compositing |
| Snapseed | Mobile photo editing with advanced features |
| GIMP | Free alternative for advanced edits |
Adding Finishing Touches
The final step in editing landscape photos is adding finishing touches that give your image a polished look. This includes adjustments like clarity and dehaze settings available in most editing software.
Clarity enhances mid-tone contrast which adds depth to your image without affecting overall brightness or saturation. Dehaze helps remove atmospheric haze often present in landscape shots taken during misty or foggy conditions.
An often overlooked but crucial step is color grading using LUTs (Look-Up Tables). These presets apply specific color tones across your entire image creating consistent looks often seen in professional photography portfolios.