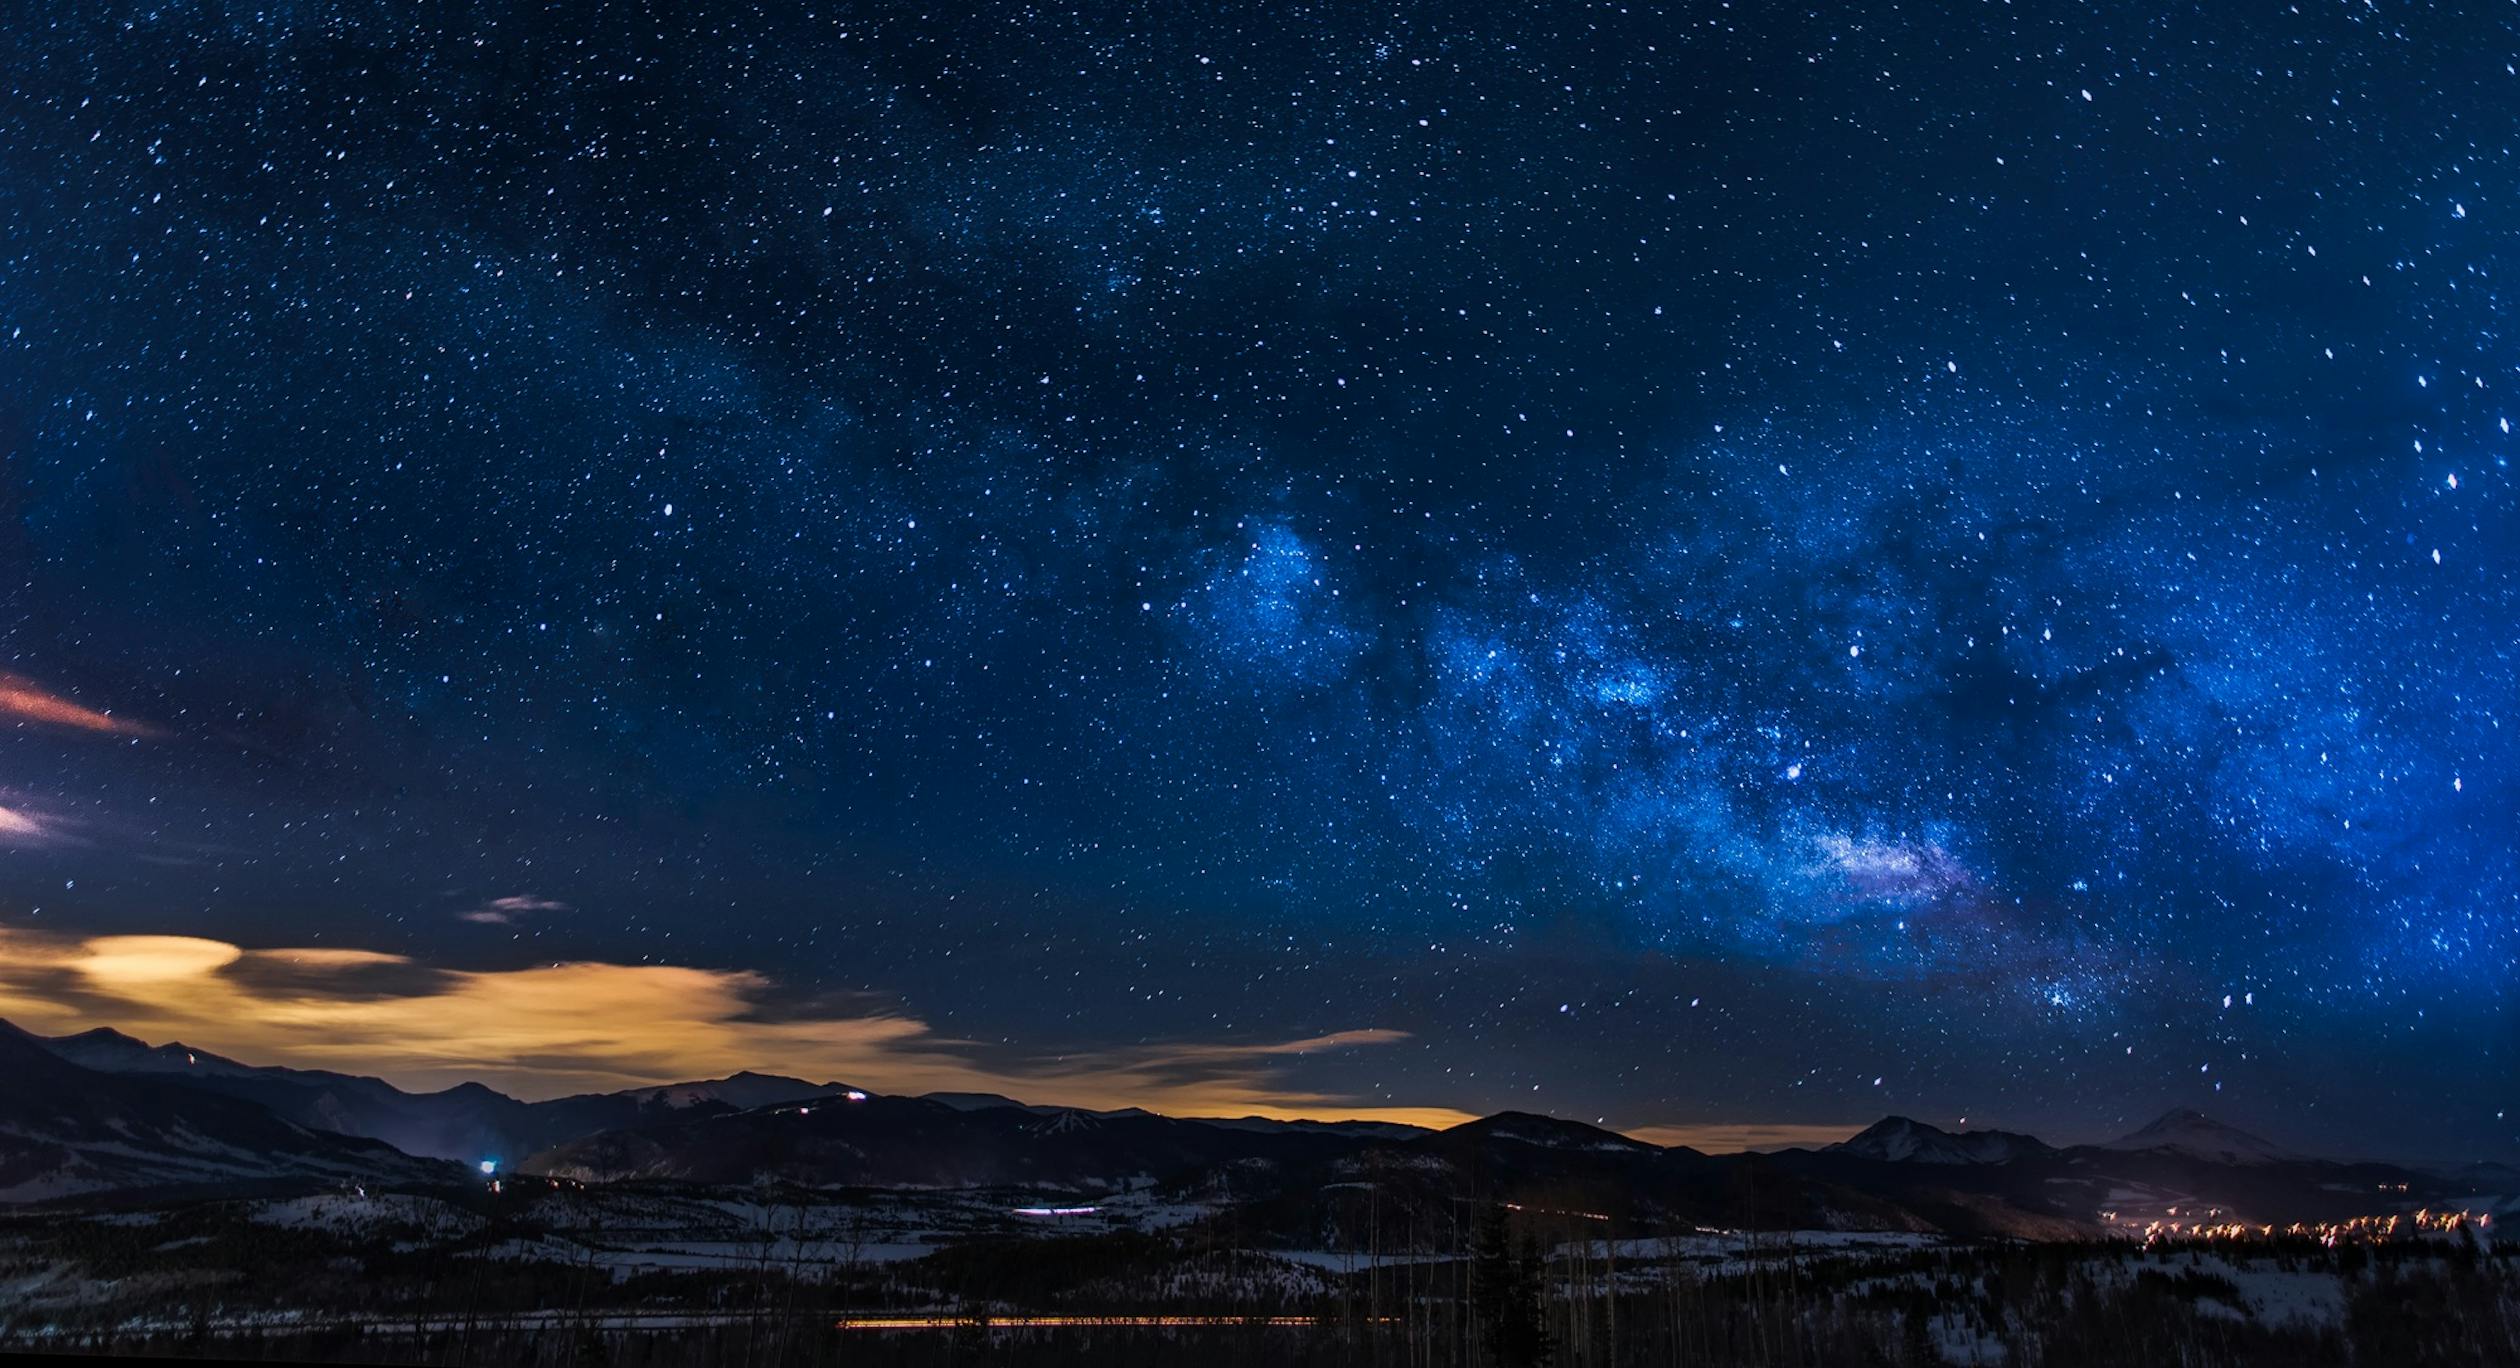
Tips for Night Landscape Photography
Night landscape photography offers the avid photographer a unique opportunity to capture stunning scenes under the stars. Whether you are photographing a serene countryside illuminated by moonlight or a bustling city skyline twinkling with lights, night photography requires a different approach compared to daytime shooting.
Night photography requires your ability to reveal hidden details and moods that aren't visible during the day.

However, achieving striking night landscapes involves more than just pointing your camera at the sky and pressing the shutter button. It demands a solid understanding of exposure settings, composition techniques, and the right equipment.
Here are some essential tips and techniques for night landscape photography.
Choosing the Right Gear
One of the most important aspects of night landscape photography is selecting the appropriate gear. A sturdy tripod is essential to keep your camera steady during long exposures, which are common in low-light conditions. Look for a tripod that is both lightweight and robust enough to withstand outdoor conditions.
Your camera choice also matters. While modern smartphones have impressive low-light capabilities, a DSLR or mirrorless camera with manual settings will give you more control over exposure and image quality. Cameras with larger sensors tend to perform better in low light, producing cleaner images with less noise.
Investing in fast lenses with wide apertures (f/2.8 or lower) can significantly improve your night shots by allowing more light to reach the sensor. Prime lenses are often preferred for their sharpness and wider apertures compared to zoom lenses.
Don't forget additional accessories like remote shutter releases or intervalometers for taking long exposures without touching the camera, which can cause vibrations and blur your images.
Understanding Exposure Settings
Mastering exposure settings is crucial for successful night landscape photography. Start by switching your camera to manual mode to have full control over aperture, shutter speed, and ISO.
Aperture controls how much light enters the lens; using a wide aperture (low f-number) allows more light in but reduces depth of field. For landscape shots where you want everything in focus, an aperture between f/8 and f/11 is usually ideal.
Shutter speed determines how long the sensor is exposed to light. Longer exposures (several seconds to minutes) capture more light but require a tripod to avoid camera shake. Experiment with different shutter speeds to find the right balance between exposure and motion blur.
ISO affects the sensor's sensitivity to light. Higher ISO settings brighten your image but introduce noise. Aim for the lowest ISO possible that still gives you a well-exposed shot; typically, ISO 800-3200 works well for night landscapes.
Composition Techniques
Composition plays a vital role in creating compelling night landscape photographs. Utilize leading lines such as roads, rivers, or pathways to guide viewers' eyes through the scene. Framing elements like trees or archways can add depth and interest.
The rule of thirds is a fundamental principle that helps create balanced compositions. Imagine dividing your frame into nine equal parts using two horizontal and two vertical lines; place key elements along these lines or at their intersections.
Including foreground elements can provide context and scale while adding layers to your composition. Reflections on water bodies or illuminated buildings can serve as striking focal points.
Don't be afraid to experiment with different angles and perspectives. Low angles can emphasize foreground details, while high angles offer panoramic views of the landscape.
Shooting Long Exposures
Long exposures are a hallmark of night photography, allowing you to capture motion and light trails that aren't visible to the naked eye. To achieve long exposures, use your camera's bulb mode or set longer shutter speeds in manual mode.
Light trails from cars or stars create dynamic elements in your photos. For star trails, you'll need an exposure time ranging from several minutes to hours; stacking multiple shorter exposures in post-processing can reduce noise and enhance detail.
When photographing cityscapes at night, long exposures smooth out water surfaces and create beautiful reflections from artificial lights. Be mindful of overexposure from bright streetlights; adjusting your aperture or using neutral density filters can help control excessive brightness.
Using a remote shutter release or timer minimizes camera shake during long exposures. Ensure your tripod is stable on uneven ground by weighing it down if necessary.
Post-Processing Tips
Enhancing and tweaking is where you can fine-tune your night landscape photos for maximum impact. Adobe Lightroom and Photoshop are powerful tools for enhancing exposure, contrast, and colors while reducing noise.
Start by adjusting exposure levels to bring out details in shadows without blowing out highlights. Use contrast adjustments sparingly to maintain natural-looking results; too much contrast can make images appear unrealistic.
Noise reduction is essential for cleaning up high ISO images; Lightroom's noise reduction sliders allow you to balance detail preservation with noise removal effectively.
Tweaking white balance helps correct color casts caused by different light sources at night; experimenting with different presets or custom settings ensures accurate colors in your final image.
So give it a go. Find the ideal environment where the street lights may be shining the least OR not and put some of the above practices in place to get that next perfect night shot!