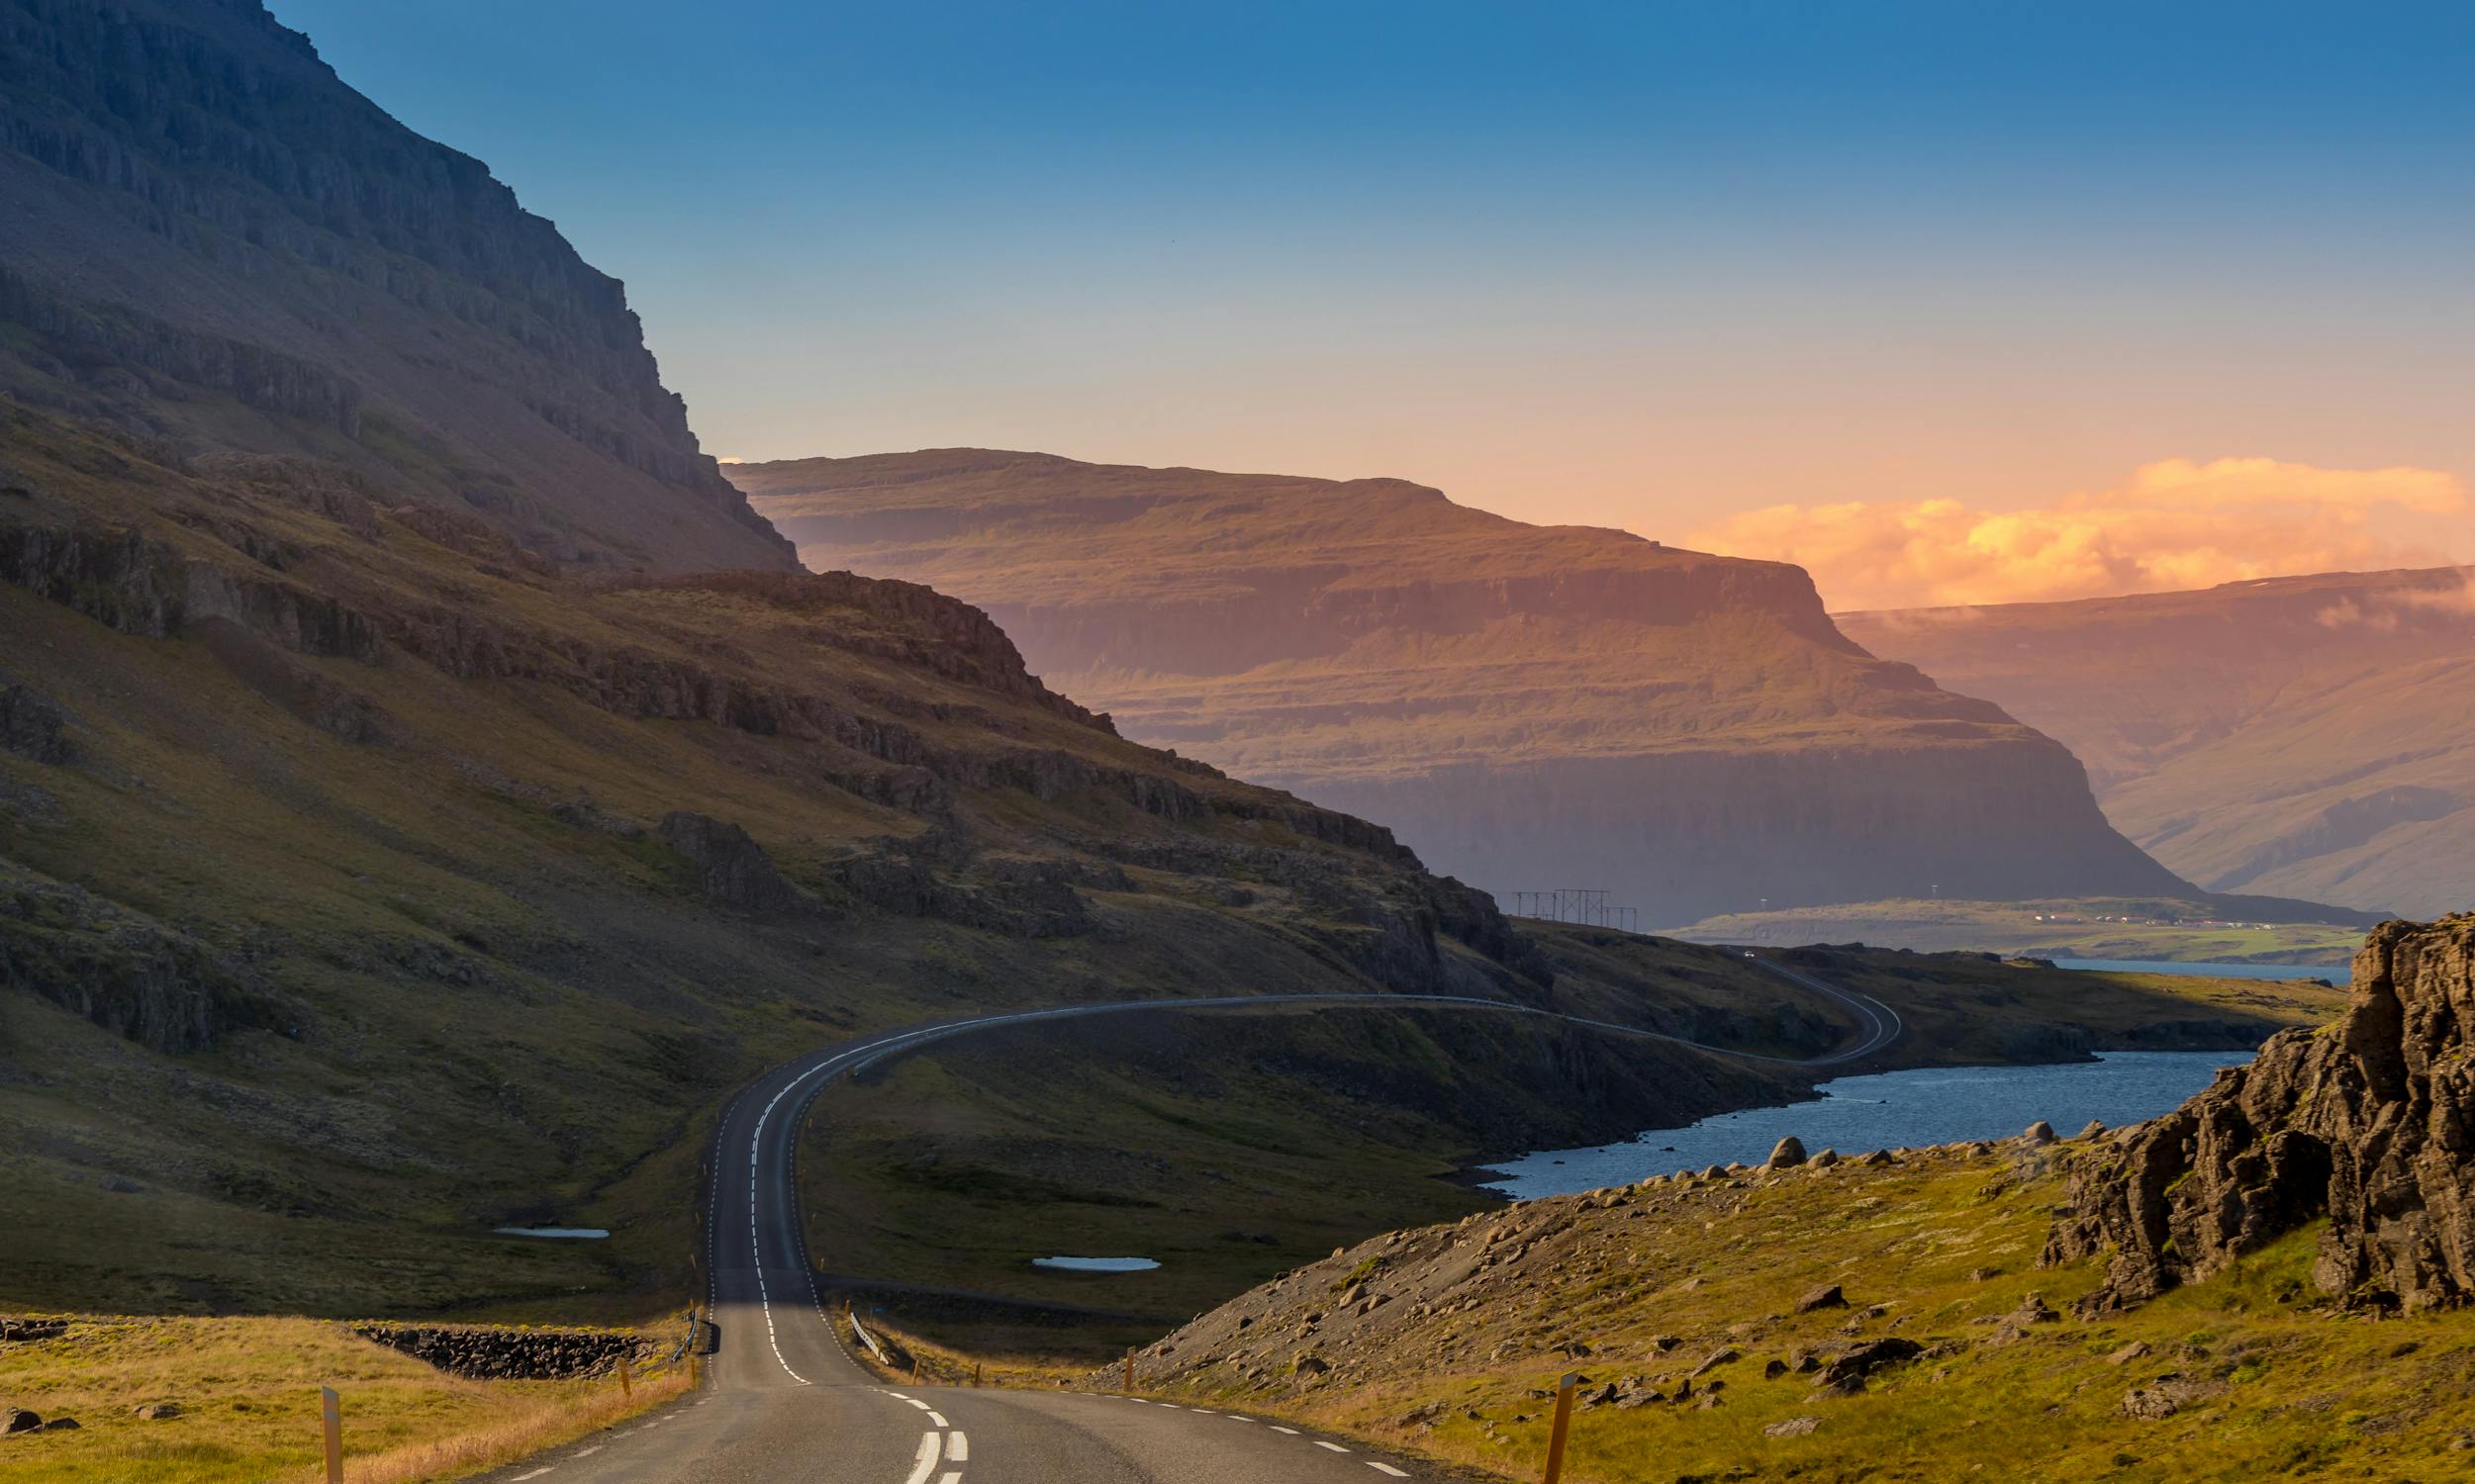
Using HDR for Stunning Landscapes
HDR allows photographers to create stunning images by combining multiple exposures, which results in a greater range of luminosity than what a single exposure can capture. This technique enhances details in both the darkest and brightest parts of an image, making your landscape photos more vivid and lifelike.
HDR photography isn't just for professionals; it's accessible to anyone with a basic understanding of photography principles and some patience.

Whether you are using a DSLR, mirrorless camera, or even a smartphone, HDR can significantly improve the quality of your landscape photos. With the right settings and post-processing techniques, you can transform ordinary scenes into extraordinary vistas that captivate viewers.
Understanding the fundamentals of HDR is crucial for achieving the best results. It's not merely about taking multiple shots at different exposures; it's about knowing how to blend them effectively to bring out the richness in your images. This involves both shooting techniques and post-processing skills, often utilizing software like Adobe Lightroom or Photoshop. As we explore HDR photography in-depth, you'll discover how to harness its power to elevate your landscape photography.
Understanding HDR Photography
HDR stands for High Dynamic Range, a technique that merges multiple exposures to create a single image with enhanced detail in both shadows and highlights. This method compensates for the limitations of camera sensors, which can't always capture the full range of light that the human eye can see.
The process begins with taking several photos at different exposure levels—typically three: one underexposed, one overexposed, and one at normal exposure. These images are then combined using HDR software to produce a balanced photo that showcases details across all exposure ranges.
Modern cameras often come with built-in HDR modes, making it easier for beginners to experiment with this technique. However, for more control and better results, manual settings and dedicated HDR software are recommended.
It's important to note that HDR is not suitable for all types of photography. It's best used in static scenes where there is no movement between exposures. Moving subjects can cause ghosting effects, which are challenging to correct during post-processing.
Shooting Techniques for HDR Landscapes
The first step in creating stunning HDR landscapes is capturing the right set of images. Here are some essential tips:
- Use a Tripod: Stability is crucial when taking multiple exposures to ensure they align perfectly during merging.
- Set Bracketing: Enable bracketing mode on your camera to automatically take multiple shots at different exposures.
- Keep ISO Low: A low ISO setting minimizes noise, ensuring cleaner images.
- Aperture Priority Mode: Use this mode to maintain consistent depth of field across all exposures.
For instance, when photographing a sunset over mountains, set your camera on a tripod and enable bracketing to capture underexposed, normally exposed, and overexposed shots. This will ensure you capture all details from the bright sky to the dark mountain ranges.
Post-Processing HDR Images
Merging multiple exposures into a single HDR image requires specialized software like Adobe Lightroom or Photoshop. Here's a basic workflow:
- Import Photos: Load your bracketed shots into the software.
- Merge Exposures: Use the HDR merge function to combine them into one image.
- Tone Mapping: Adjust brightness, contrast, and saturation to enhance details.
- Noise Reduction: Apply noise reduction techniques to clean up the image.
This process transforms your raw images into a cohesive photo that highlights every detail beautifully. Experiment with different settings until you achieve the desired look.
Avoiding Common HDR Mistakes
While HDR can produce breathtaking results, it's easy to overdo it. Here are common pitfalls and how to avoid them:
- Over-Saturation: Excessive saturation can make images look unnatural. Adjust colors subtly.
- Halos: Bright edges around objects indicate poor blending. Use feathering tools to soften transitions.
- Noise: Combining multiple exposures can amplify noise. Use noise reduction sparingly but effectively.
Avoiding these mistakes ensures your HDR images remain realistic and engaging without distracting artifacts.
The Best Tools for HDR Photography
Selecting the right tools can significantly impact your HDR workflow. Here are some recommended options:
| Software | Features | Price |
|---|---|---|
| Adobe Lightroom | User-friendly interface, powerful tone mapping tools | $9.99/month (with Adobe Creative Cloud) |
| Photomatix Pro | Advanced merging algorithms, extensive presets | $99 (one-time purchase) |
| Aurora HDR | Award-winning AI technology for realistic results | $99 (one-time purchase) |
These tools offer various features tailored for both beginners and advanced users, making it easier to achieve professional-grade results.
HDR Photography
Cameras with higher dynamic range sensors are being developed, reducing the need for multiple exposures. Additionally, AI-powered software is becoming more sophisticated, offering automated processes that deliver superior results with minimal effort.
This progress means photographers can focus more on their creative vision rather than technical constraints. Expect even more breathtaking landscape photos that push the boundaries of what's possible in digital imaging in the future.
Using HDR for landscape photography allows you to capture scenes in their full glory by balancing light and shadow details effectively. With proper shooting techniques and post-processing skills, you can elevate your landscape photos from ordinary to extraordinary. As technology advances, mastering HDR will continue to be an invaluable skill for photographers aiming to produce stunning visual narratives.