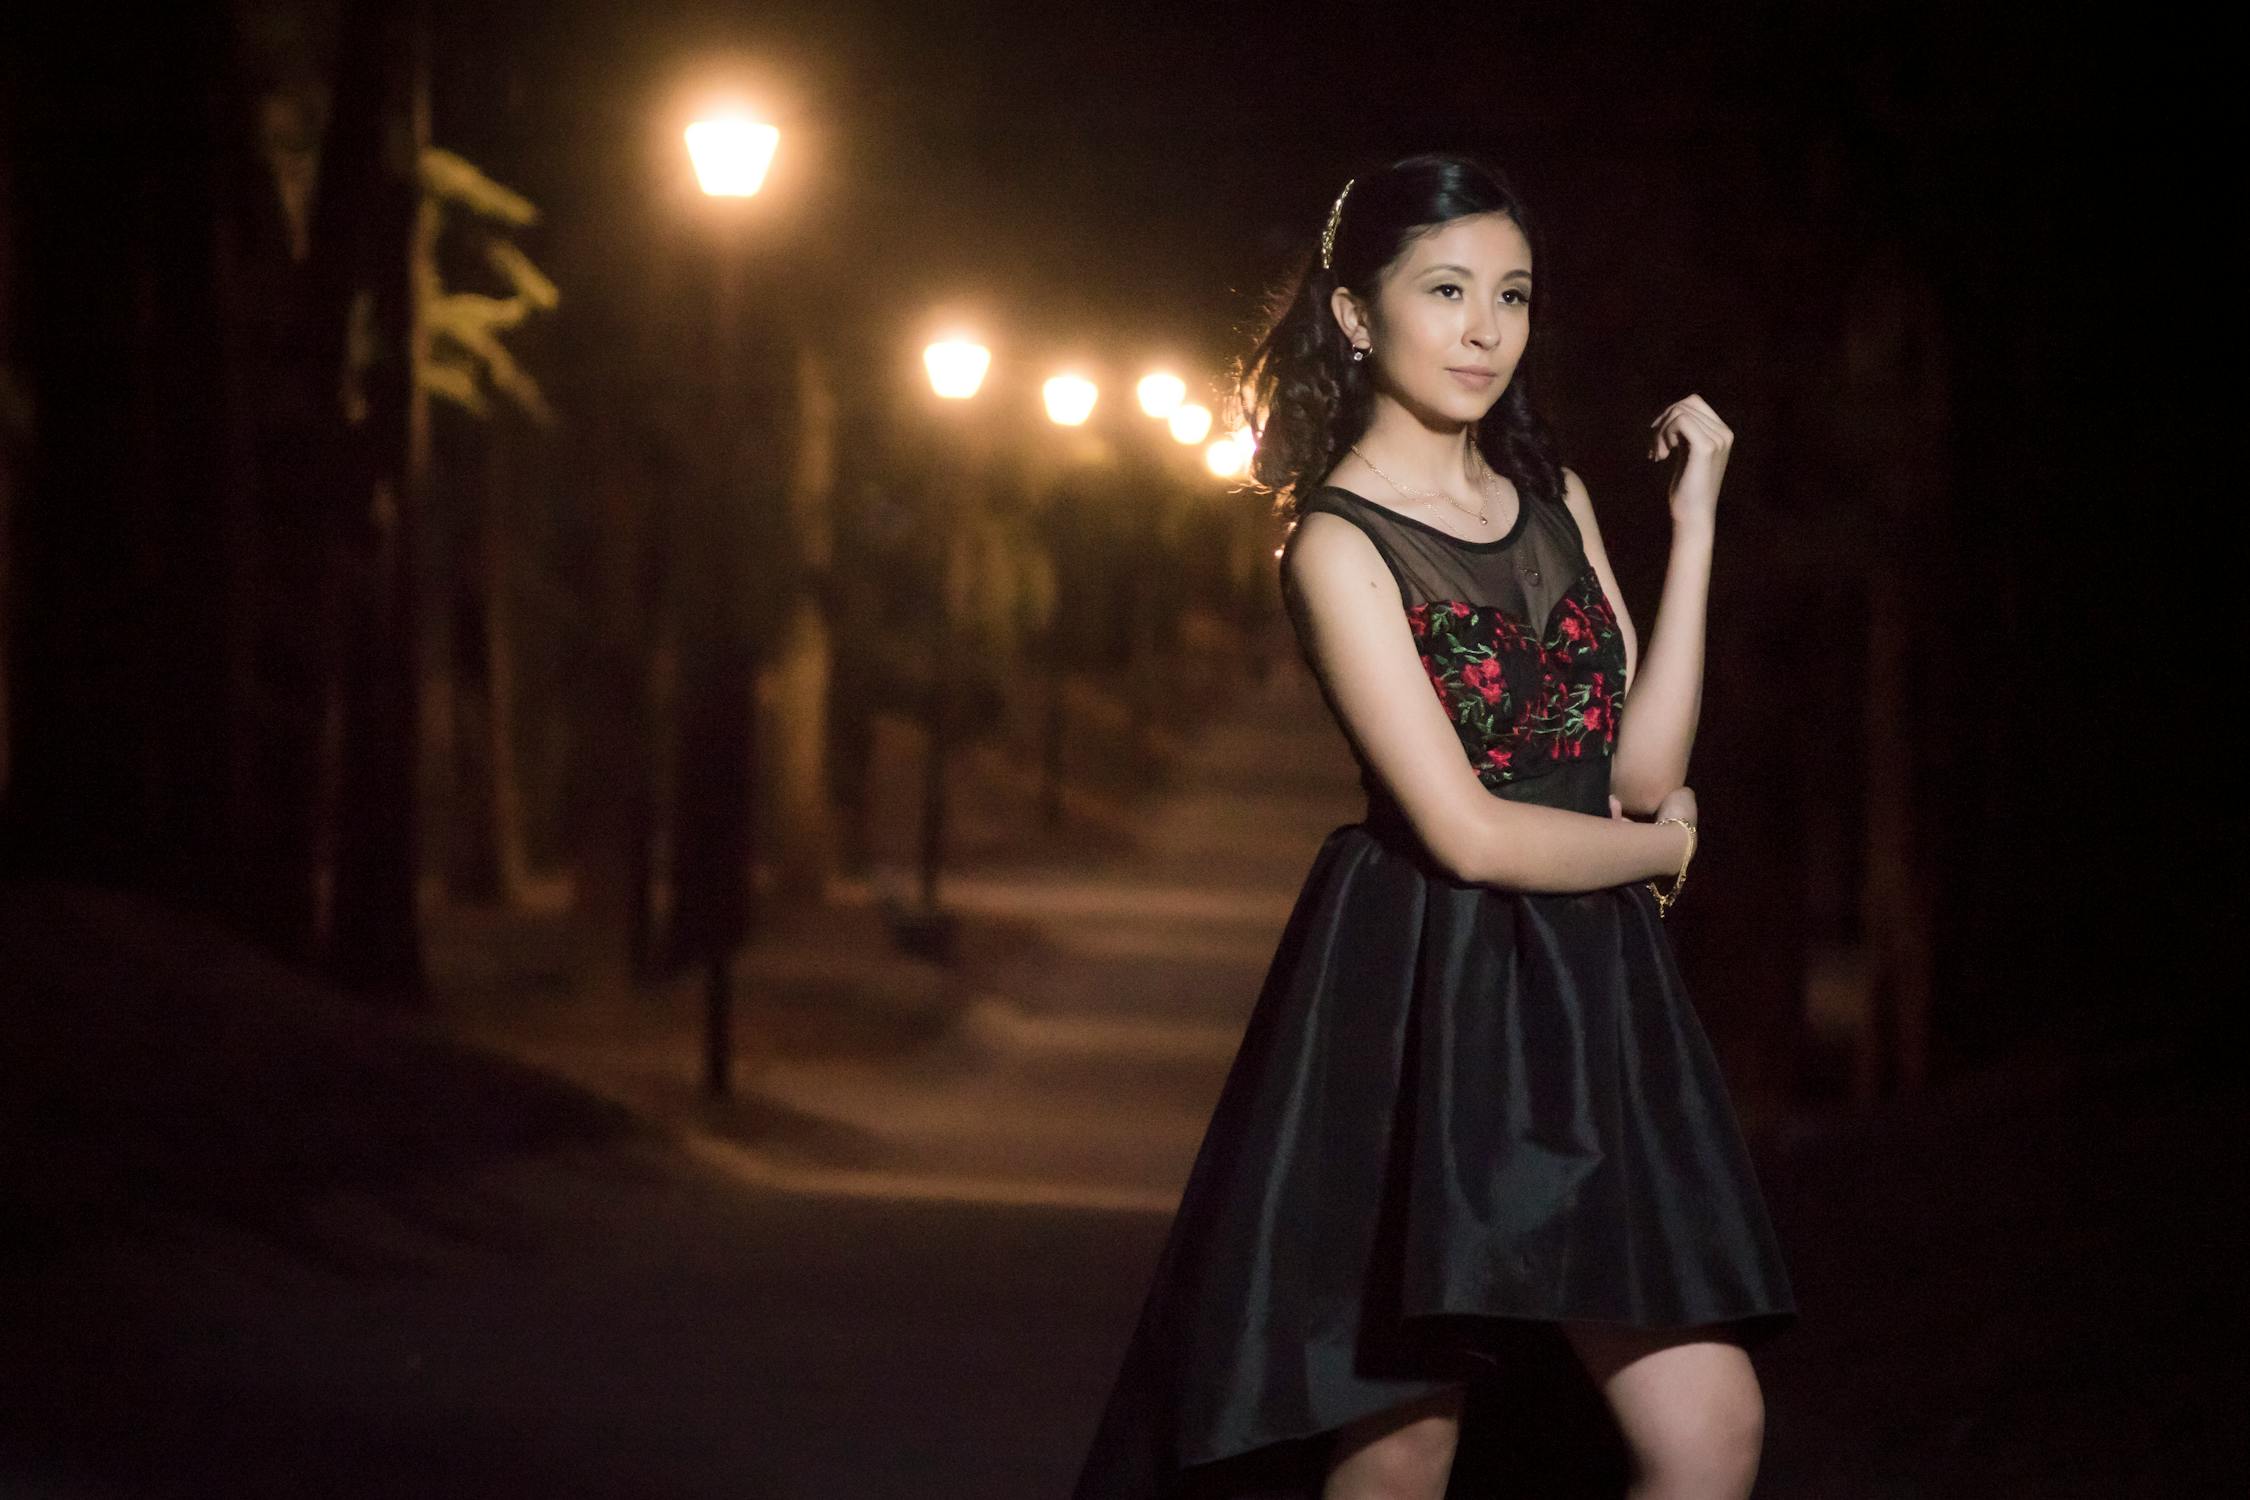
Tips for Outdoor Portrait Sessions
Outdoor portrait sessions offer an exciting opportunity to capture natural beauty, but they come with unique challenges. Mastering outdoor portrait photography requires a blend of technical skill, creativity, and adaptability. Grasping the ways to work with natural light, select the right location, and interact with your subject can make all the difference in achieving stunning results.

Timing is Everything
The time of day can significantly impact the quality of your outdoor portraits. The golden hour—shortly after sunrise or before sunset—provides soft, warm light that enhances skin tones and adds a magical touch to your photos. This period offers diffused lighting that reduces harsh shadows and creates a flattering glow.
If shooting during midday is unavoidable, seek shaded areas to avoid direct sunlight, which can cause unflattering shadows and overexposure. Using a reflector can help balance the light and fill in shadows on your subject's face. Additionally, overcast days provide even lighting that can be very flattering for portraits.
Plan your session around the weather forecast to ensure optimal lighting conditions. Tools like Weather.com can help you anticipate changes in weather and adjust your plans accordingly.
Selecting the Right Location
The location of your shoot sets the tone for your portraits. Choose a place that complements your subject's personality and style. Parks, beaches, urban settings, and countryside landscapes each offer unique backdrops that can enhance your composition.
Consider the background elements and how they interact with your subject. Avoid overly busy or distracting backgrounds that can take attention away from the main focus of your portrait. Instead, opt for locations with simple yet interesting features such as trees, water bodies, or architectural elements.
Scout potential locations ahead of time to identify the best spots for shooting. Take note of how the light interacts with different areas throughout the day. This preparation will save you time during the actual session and allow you to focus more on capturing great shots.
Engaging with Your Subject
Building a rapport with your subject is crucial for capturing natural and expressive portraits. Start by making them feel comfortable and relaxed. Engage in casual conversation to ease any nerves and create a friendly atmosphere.
Provide clear directions on posing while allowing room for spontaneity. Encourage your subject to move naturally and experiment with different expressions and angles. Offering positive feedback throughout the session helps boost their confidence and results in more authentic photographs.
Communication is key; always explain what you're doing and why it benefits the shot. This transparency builds trust and collaboration between you and your subject.
Technical Considerations
Mastering technical aspects such as camera settings is essential for successful outdoor portraits. Use a wide aperture (e.g., f/2.8 or lower) to create a shallow depth of field that blurs the background and makes your subject stand out.
Shooting in RAW format allows greater flexibility during post-processing, enabling you to fine-tune exposure, white balance, and other settings without losing image quality. Adjusting ISO sensitivity based on lighting conditions ensures sharp images without excessive noise.
Pay attention to composition rules like the rule of thirds, leading lines, and symmetry to create visually appealing portraits. Experiment with different perspectives by changing angles or incorporating foreground elements to add depth to your images.
Post-Processing Tips
Improving and processing plays a vital role in enhancing outdoor portraits. Tools like Adobe Lightroom and Photoshop offer powerful features for editing exposure, contrast, color balance, and more.
Start by adjusting basic settings such as brightness and contrast before moving on to more detailed edits like retouching skin imperfections or enhancing eyes. Use selective adjustments to highlight specific areas without affecting the entire image.
Maintain a natural look by avoiding over-editing; subtle adjustments often yield better results than drastic changes. Consistency in editing style ensures a cohesive look across all your photos from the session.
Essential Gear for Outdoor Portraits
| Item | Purpose |
|---|---|
| Camera Body | A reliable DSLR or mirrorless camera |
| Lenses | Prime lenses (e.g., 50mm) for shallow depth of field |
| Reflector | Bounce light onto subjects' faces |
| Tripod | Stabilize shots in low-light conditions |
| External Flash | Add fill light when necessary |
| Editing Software | Adobe Lightroom or Photoshop for post-processing |
Outdoor portrait sessions can be incredibly rewarding when approached with careful planning and attention to detail. Timing your shoots during golden hours ensures flattering light while selecting thoughtful locations adds depth to your compositions. Engaging effectively with subjects helps capture genuine expressions while mastering technical aspects enhances overall quality.
The right gear combined with skillful post-processing brings out the best in each shot taken outdoors—transforming ordinary scenes into extraordinary memories preserved through stunning photographs!